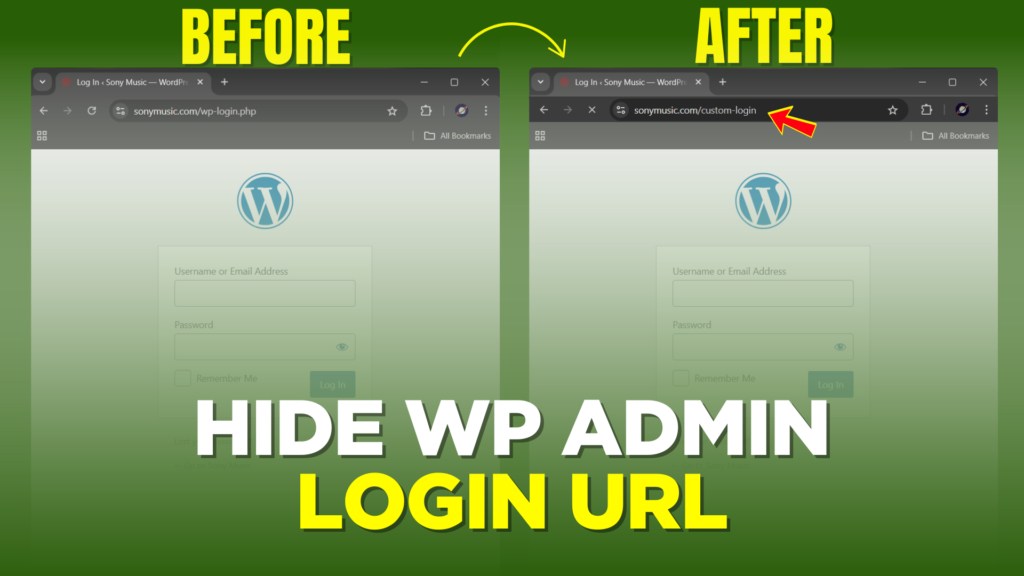
Did you know that anyone can access your WordPress admin login page simply by typing /wp-admin after your website URL? This default behavior can leave your website vulnerable to unauthorized access and brute force attacks. But don’t worry! In this guide, I’ll show you how to hide the WordPress admin login URL and enhance your site’s security in a few easy steps.
Why Hide the Admin Login URL?
The default login page (/wp-admin or /wp-login.php) is a known entry point for hackers to attempt brute force attacks. By changing this URL, you’re adding an extra layer of security, making it harder for attackers to find the login page.
Step-by-Step Guide to Hiding the Admin Login URL
Step 1: Install the Plugin
- Log in to your WordPress dashboard.
- Navigate to Plugins > Add New Plugin.
- Search for a plugin WPS Hide login.
- Install and activate the plugin.
Step 2: Configure the Plugin
- After activation, go to Settings > Plugin Settings.
- Enter a custom URL for your admin login, such as
/my-secret-login. - Set up redirection for users who try to access
/wp-login.phpor/wp-admin. By default, they’ll be redirected to a 404 error page. You can also redirect them to another page, like your homepage or blog. - Save your changes.
Testing Your New Login URL
Once you’ve configured everything, it’s time to test:
- Go to
/wp-adminor/wp-login.php. You’ll notice it redirects to a 404 page or your custom redirection page. - Now, try accessing your new login URL (e.g.,
/my-secret-login). You should be able to see the login page and log in securely.
Tips for a Stronger WordPress Site
- Use a strong password for your admin account.
- Keep your WordPress installation, themes, and plugins updated.
- Consider adding two-factor authentication for an extra layer of security.
Final Thoughts
Hiding your admin login URL is a simple yet effective way to protect your WordPress website from potential threats. Follow these steps to secure your site and keep your data safe.
If you found this guide helpful, don’t forget to share it with others and leave a comment below!