What is Odysseus?
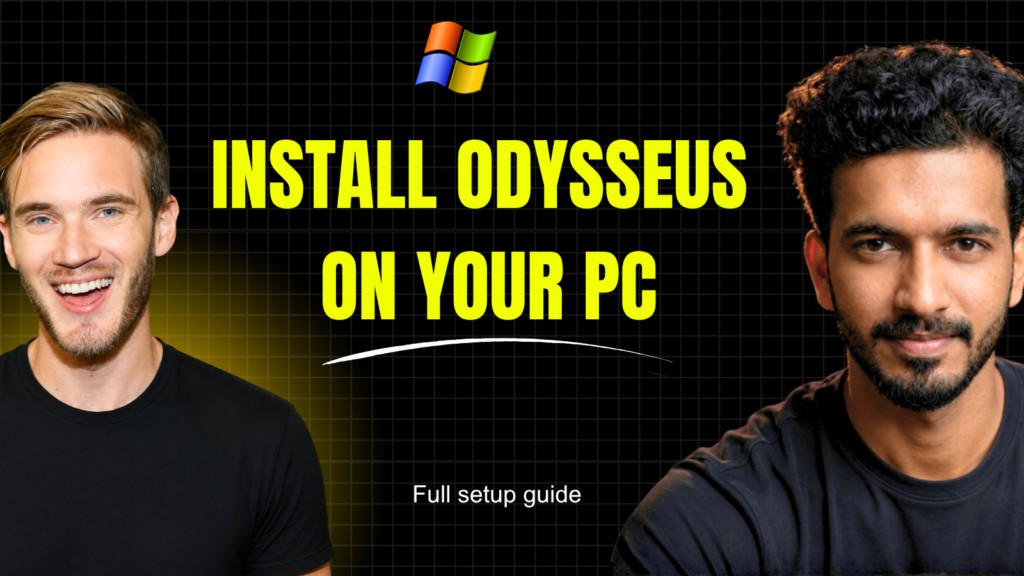
PewDiePie just dropped his own AI workspace called Odysseus — and it’s going viral for a good reason. It’s basically your own private AI assistant that runs 100% on your local PC. No cloud, no subscription, nothing leaving your machine.
Think of it like having ChatGPT and Claude — but fully offline, fully private, and running on your own hardware. And it’s not just a simple chat tool either. There are agents, multiple model support, and a lot more packed inside.
In this guide, I’ll walk you through the complete installation process step by step — from zero to having Odysseus fully running on your Windows PC.
What You’ll Need
- A Windows PC
- Git for Windows — lets you run Git commands in the terminal
- Python 3.11 — specifically version 3.11 (not 3.12 or higher)
- Ollama — to run local AI models
- Odysseus GitHub Repo — the main project files
Step 1 — Install Git
Git is what lets us clone (download) the Odysseus project files from GitHub onto your PC.
Go to: https://git-scm.com/install/windows
Download the installer, double-click the file, and keep clicking Next — you don’t need to change any settings. Once it finishes, click Finish and close whatever window opens.
Step 2 — Clone the Odysseus Repo
Open Windows PowerShell (search for it in the Start menu) and run this command:
git clone https://github.com/pewdiepie-archdaemon/odysseus.gitThis will download all the Odysseus project files to your PC. Once it’s done, you’ll see a new folder called odysseus in your Users directory.
Now navigate into that folder:
cd odysseusStep 3 — Install Python 3.11
Odysseus specifically requires Python 3.11. Make sure you install this exact version — not 3.12 or newer.
Download it here: https://www.python.org/downloads/release/python-3119/
Scroll down and grab the Windows installer (64-bit). Once downloaded, double-click to install.
⚠️ IMPORTANT: On the first screen of the installer, make sure you check the box that says “Add Python.exe to PATH”. This is critical — don’t skip it.
Then click Install Now and wait for it to finish.
Step 4 — Run the Setup Commands
Back in your terminal (make sure you’re inside the odysseus folder), run these commands one by one:
Create a virtual environment:
py -3.11 -m venv venvActivate it:
venv\Scripts\Activate.ps1Install dependencies:
pip install -r requirements.txtRun the setup script:
python setup.pyDuring setup, it will ask you to create a username and password. This is what you’ll use to log in to the Odysseus dashboard. Enter any username you want, set a password (it won’t be visible as you type — that’s normal), confirm it, and you’re done.
Step 5 — Launch Odysseus
Run the final command to start the Odysseus server:
python -m uvicorn app:app --host 127.0.0.1 --port 7000The first time you run it, it may take a little longer — it’s setting everything up. From the next time, it’ll be much faster.
Once it’s running, open your browser and go to:
http://127.0.0.1:7000You’ll see a login page. Enter the username and password you created in Step 4, click Sign In, and you’re in — welcome to your Odysseus dashboard!
Step 6 — Install Ollama & Add a Local Model
Now we need to connect an AI model. We’ll use Ollama for this — it’s the easiest way to run local models.
Download it here: https://ollama.com/
It’s about 1.3 GB. Double-click and install — simple one-click setup.
Now go to the Models section on the Ollama website and pick a model. If you’re just starting out, I recommend Qwen 2.5 3B — it’s lightweight (around 1.9 GB) and works great for general use.
Open a new terminal window and run:
ollama run qwen2.5:3bThis will download and run that model. Once it shows “Send a message”, type hi and hit Enter — if you get a reply, the model is working perfectly.
Step 7 — Connect Ollama to Odysseus
Go back to the Odysseus dashboard, open Settings, go to the Local section, and click Scan for Servers.
It will find your Ollama server and show: Found 1 server with 1 model. Click Add — and you’re connected. Select Qwen 2.5 from the model dropdown, send a test message, and you’re fully set up.
Bonus — One-Click Launch (open.bat)
Every time you restart your PC, you’ll need to run the uvicorn command again. Here’s a shortcut — create a .bat file so you can just double-click to launch everything automatically.
Go to your Odysseus folder in File Manager, create a new text file, and name it open.bat. Open it and paste this:
cd /d <PATH>
start /b .\venv\Scripts\python.exe -m uvicorn app:app --host 127.0.0.1 --port 7000

:waitloop
timeout /t 4 >nul
powershell -Command "(Invoke-WebRequest http://127.0.0.1:7000 -UseBasicParsing -TimeoutSec 2) > $null" >nul 2>&1

if errorlevel 1 goto waitloop

start http://127.0.0.1:7000
Replace <PATH> with the full path to your Odysseus folder (e.g. C:\Users\YourName\odysseus). Save the file, and from now on just double-click open.bat to launch Odysseus instantly.
You can also right-click the .bat file, create a shortcut, and keep it on your desktop for one-click access.
All Commands at a Glance
git clone https://github.com/pewdiepie-archdaemon/odysseus.git
cd odysseus
py -3.11 -m venv venv
venv\Scripts\Activate.ps1
pip install -r requirements.txt
python setup.py
python -m uvicorn app:app --host 127.0.0.1 --port 7000
All Resources & Links
That’s it! You now have PewDiePie’s Odysseus AI workspace fully running on your local PC — private, offline, and completely free.
If you run into any issues or want a deeper video covering all the Odysseus features, drop a comment on the YouTube video — I’ll do my best to help or make a follow-up based on your interest.