N8N is rapidly becoming one of the most powerful open-source workflow automation tools, especially for AI agents and custom automations. Whether you’re building complex workflows or just exploring automation tools, installing N8N locally on your Windows PC is a great way to get started.
In this step-by-step guide, we’ll show you how to install n8n using Docker in under 3 minutes, even if you’re a beginner.
✅ What is N8N?
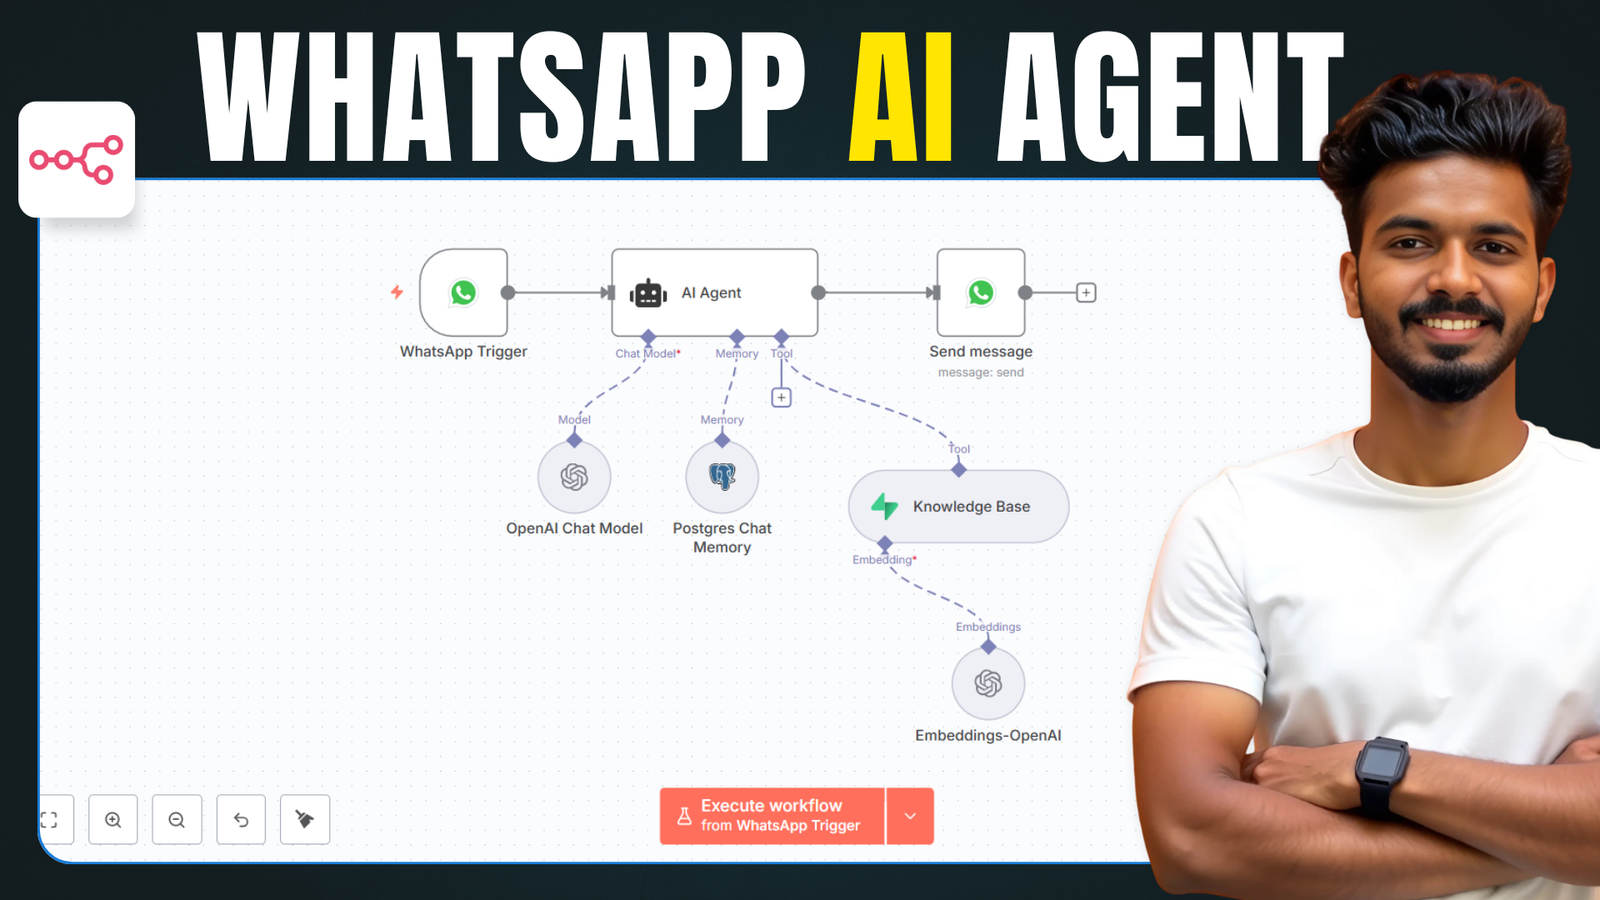
N8N (short for “node like node-red”) is a free and open-source workflow automation tool that allows you to connect different apps and services with ease. You can automate repetitive tasks, integrate APIs, and now even create advanced AI agents.
🧰 Prerequisites
To install n8n locally, you need:
- A Windows PC
- Basic knowledge of software installation
- Docker Desktop (free)
🛠️ How to Install N8N Locally Using Docker
🔹 Step 1: Download & Install Docker Desktop
- Visit the Docker Desktop official site and download the version for Windows.
- Install it by following the prompts.
- Restart your PC if required.
Why Docker?
Docker creates a virtual container to run n8n without affecting your system configuration. It’s fast, clean, and reliable.
🔹 Step 2: Pull the N8N Docker Image
- Open Docker Desktop.
- Go to the Images tab.
- Search for n8n and select the one labeled
n8nio/n8n(100M+ downloads). - Click Pull to download the image.
🔹 Step 3: Run the N8N Container
- Once downloaded, click the Run button next to the n8n image.
- Name your container (e.g.,
n8n). - Set the port as
5678. - Click the three dots under Host Path, create a folder named
n8n, and select it. - Set the Container Path as
/home/node/.n8n. - Click Run to launch n8n locally.
🔹 Step 4: Access & Set Up N8N Dashboard
- Visit
http://localhost:5678in your browser. - Set up the owner account with your email, name, and password.
- You’ll be prompted to enter a free license key to unlock premium features:
- Enter your email.
- Check your inbox for the activation key.
- Paste it under Usage and Plan > Activate License.
🛠️ Common Issue: “This Site Can’t Be Reached”?
If localhost:5678 doesn’t open:
- Open Docker.
- Go to the Containers tab.
- Click Start on the n8n container.
- Wait a few seconds and refresh the page.
💡 Local vs Cloud Hosting
Running n8n locally is perfect for:
- Testing
- Learning
- Personal automation
But for production use, where reliability and 24/7 uptime matter, cloud hosting is recommended.
We’ve created two detailed videos on how to host n8n on a cloud server — links are in the video description or sidebar.
📌 Final Thoughts
Installing N8N on your local PC with Docker is easy, fast, and perfect for exploring what this amazing automation tool can do. With just a few clicks, you’re ready to build powerful, no-code/low-code workflows.